Bahasa Indonesia
 English
 日本語
日本語
Updated on 15th December 2025
Keeping track of your property’s updates is crucial for preventing overbookings and resolving daily operational discrepancies. The Rates & Availability Log allows you to audit every change made to your Availability, Rates, and Inventory (ARI) on the Extranet.
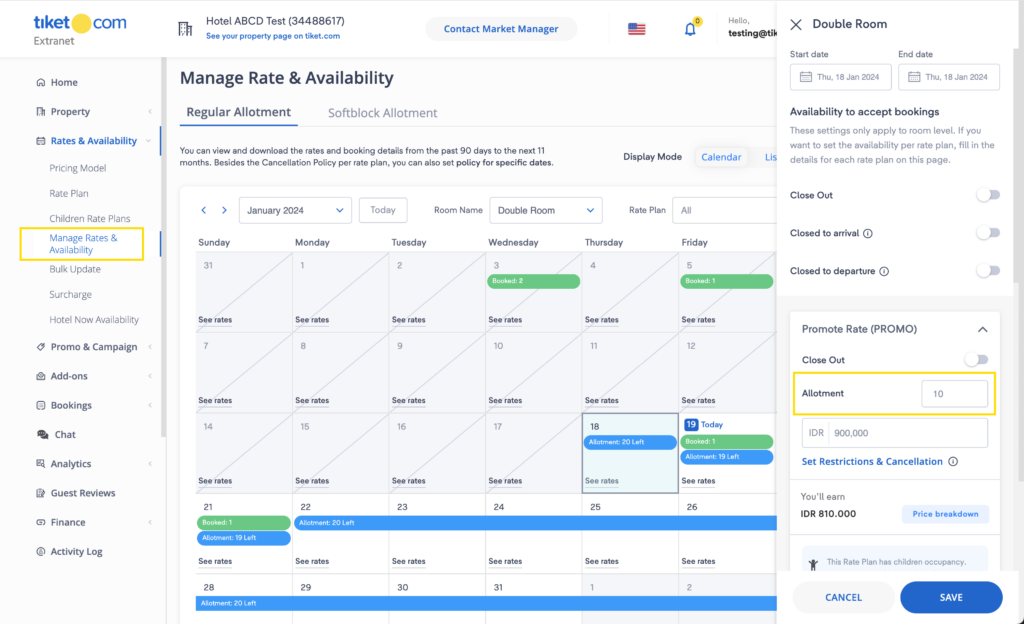
You can view the detailed activity log by following these steps:
- Login to your Extranet account
- Go to Rates and Availability menu
- Select Manage Rates & Availability submenu
- Find & click View Log button in the right-top corner of the page
This tool provides a detailed history of updates. Here is how the system handles data:
- The log only saves changes when a value is actually modified. Updates that re-submit the same existing value are not stored.
- Log data is only available starting from the date this feature was enabled. Data is retained for a maximum of 6 months past the guest’s stay date.
- Logs can be searched using two search capabilities: Room & Rate Plan or Itinerary ID.
- For properties with Channel Manager or Switcher, the log data includes API requests such as raw request log, echotoken, request & response time.
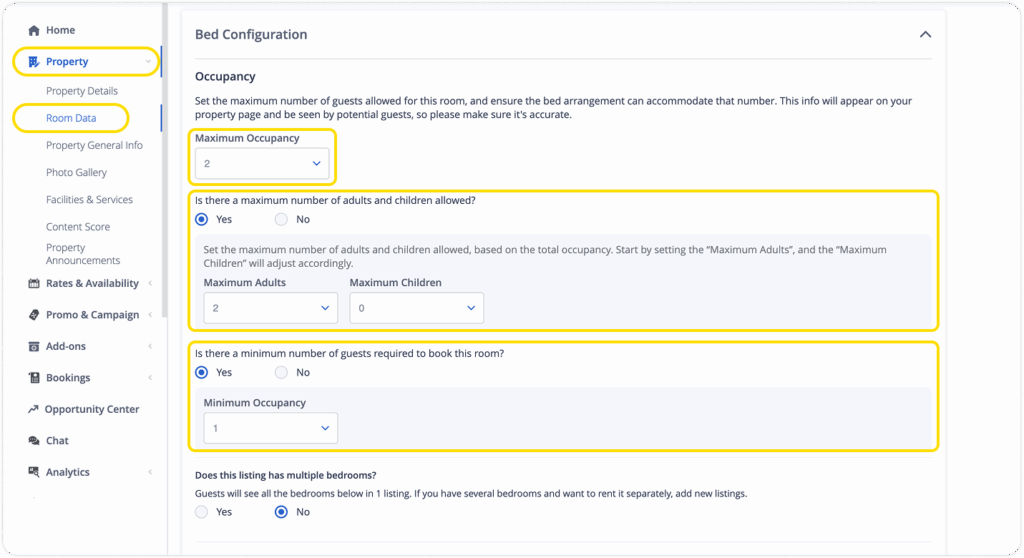
The system stores specific changes across these three categories:
- Rates
- Room based rate
- Occupancy based rate
- Allotment
- Normal (Room Inventory & Room-Rate Inventory)
- Softblock
- Restrictions
- Close Out (Room, Room-Rate, and Softblock)
- CTA (Closed to Arrival) & CTD (Closed to Departure) for room and room-rates.
- Min-Max LOS (Length of Stay), Advance Booking windows, and Stay-Through restrictions for room and room-rates.
How to Search the Log?
- Search by Room & Rate Plan
Use this to view general activity for specific products over a specific time.
The system will return all ARI activity log data based on the criteria you select. You can narrow your search by specifying the room name, rate plan name, and stay period. Additionally, you can filter by specific data types (rates, allotment, or restrictions) and define a log period of up to 30 days before the checking date.
- Search by Itinerary ID
Use this to investigate changes related to a specific booking (past or future).
The system will return all ARI activity log data relevant to that specific booking. You can further refine the results by selecting the rate plan name and the specific data type (rates, allotment, or restrictions). The log period search window allows you to look back up to 30 days before the booking date.
Thank you for the feedback
Was this article helpful?